This is one of the introductory lessons of the Lingerie Pattern Making course. If the hums for ironing bra cups from the stores do not fit in size and you need a smaller or larger one, this lesson provides instructions on how to create a tool for ironing bra cups yourself from simple materials.
WARNING! The tutorial contains dangerous moments in the making handmade ironing pad. You have to be very careful not to cut your fingers.
Size
The size of the pad depends on the size of the breast.
The diameter of the pressing tool must be smaller than the diameter of the breast, otherwise we may deform the cup of the bra when ironing. If we make the pad based on ready-made balls, we choose from standard balls is possible to buy.
You will find detailed information about the breast root and the best way to measure the diameter of the base of the breast in the lesson Industrial vs Custom-made Bra in Lingerie Pattern Making course.
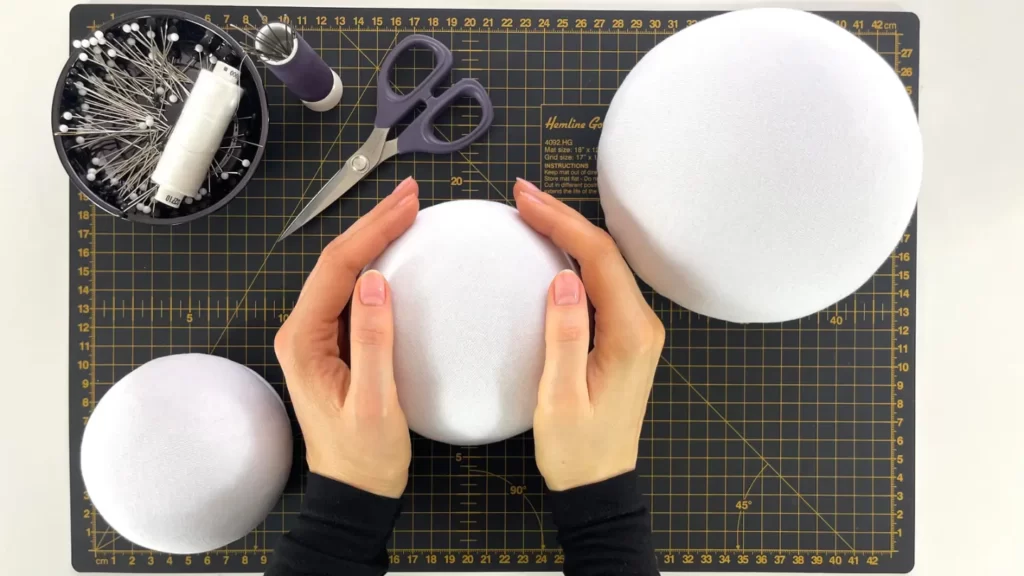
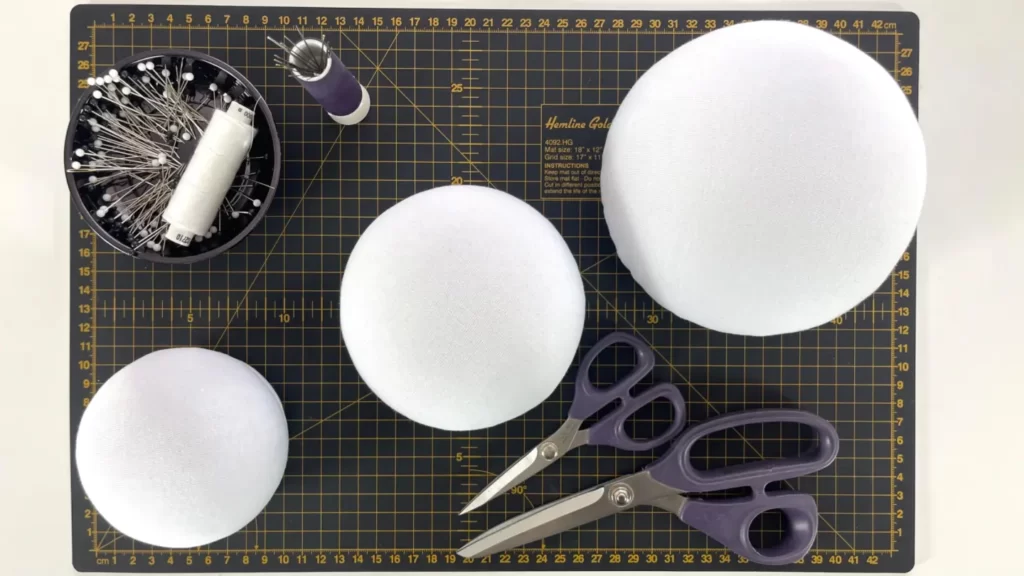
On the photo balls with diameter:
- 9 centimeters or 4 inches
- 12 centimeters or 5 inches
- 15 centimeters or 6 inches
For this 3 pads the different size, I used cotton jersey: width 150 cm or 20 inches, length 50 cm or 20 inches.
Materials
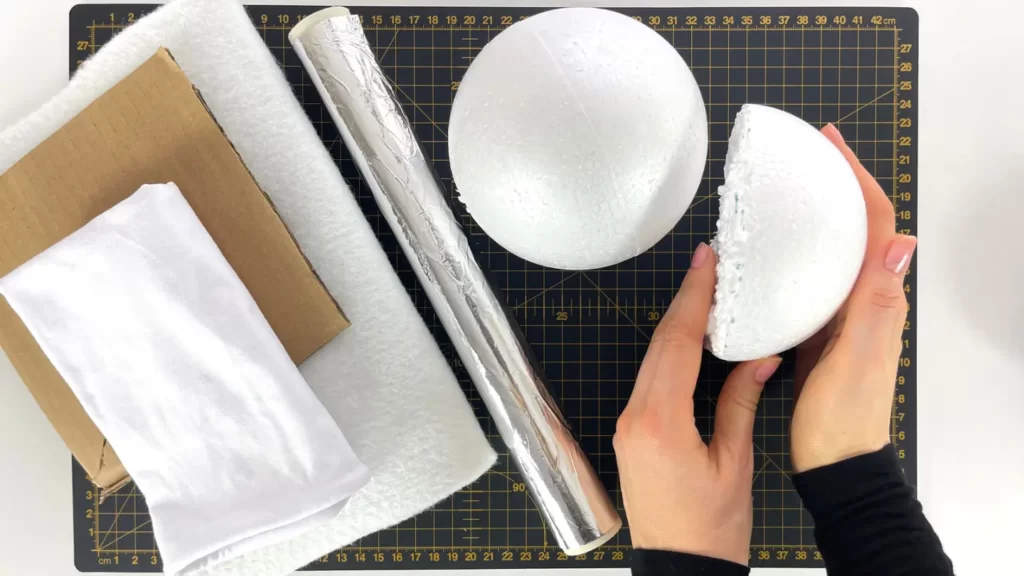
- Styrofoam hemisphere/ball Amazon.com
- Aluminum foil Amazon.com
- Material for ironing board Amazon.com
- Cotton jersey
- Cardboard
Instruments
- Pen
- Kitchen knife
- Tape measure
- Geometry compass
- Scissors for paper
- Scissors for fabric
- Thread trimming scissors
- Threads, color match to jersey
- Sewing needle
- Pins
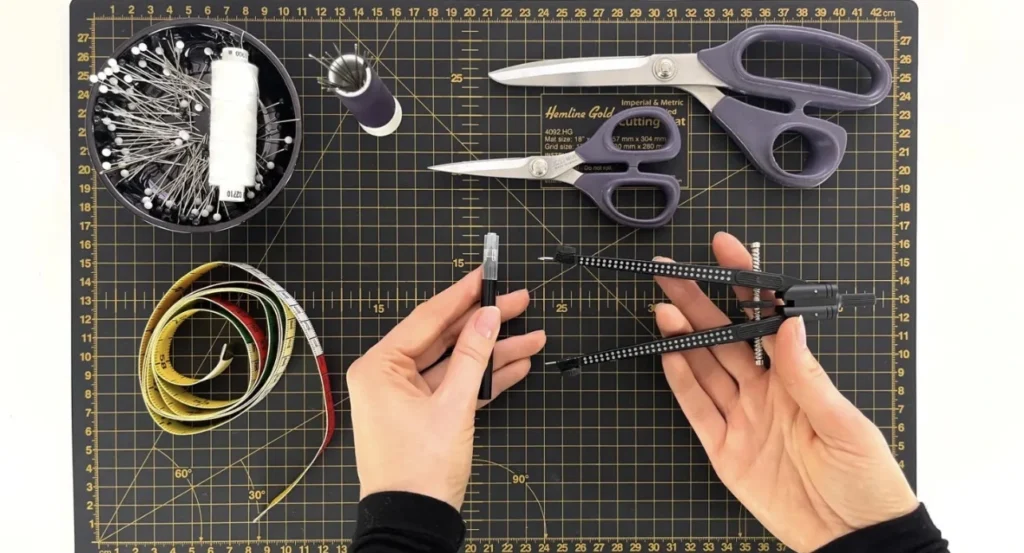
Photo process
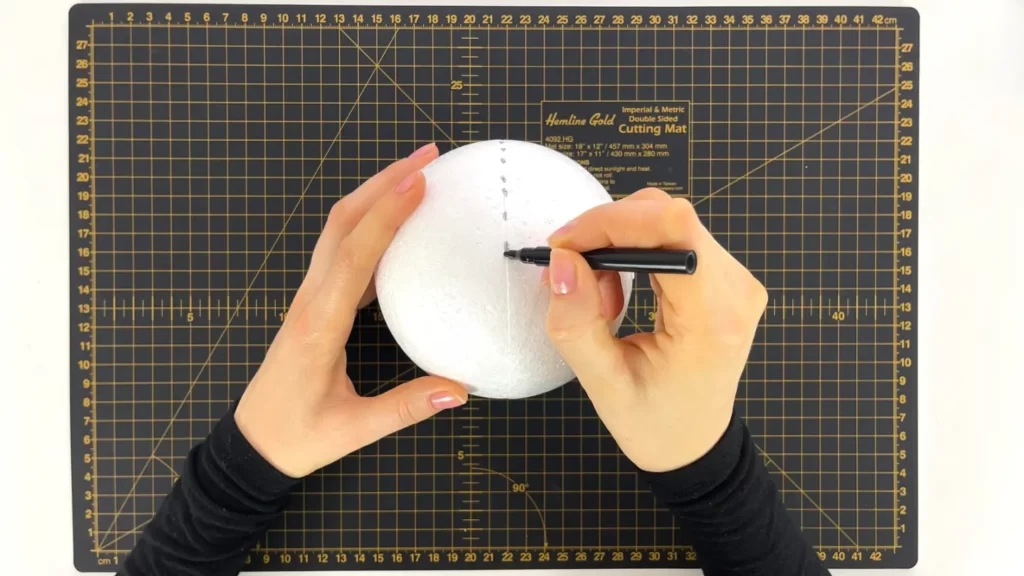
1
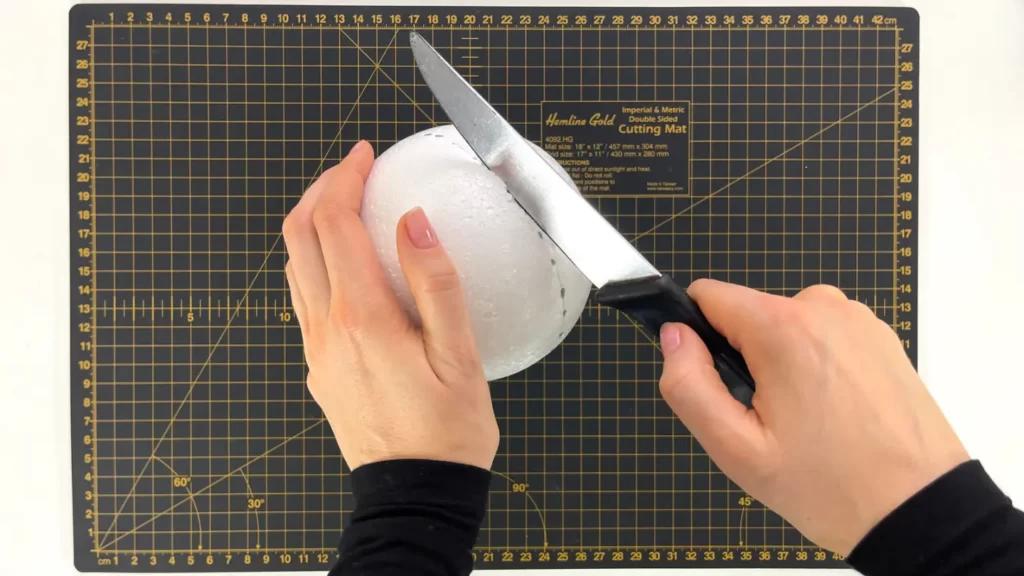
Mark the ball middle line to make it more visible.
2
BE ATTENTIVE!
Cut the ball into two parts along the drawn line. Use a kitchen knife or some similar. Be sure to cut the ball on a non-slip table. On the photo a cutting mat.
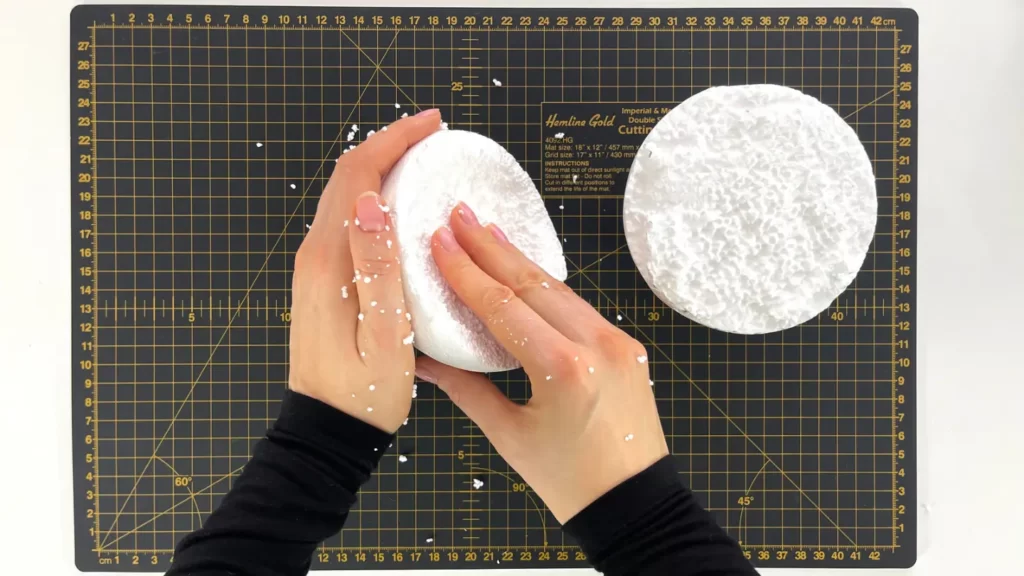
3
Make a small deepening in the hemisphere in which can be possible to hide a fabric allowances for cover.
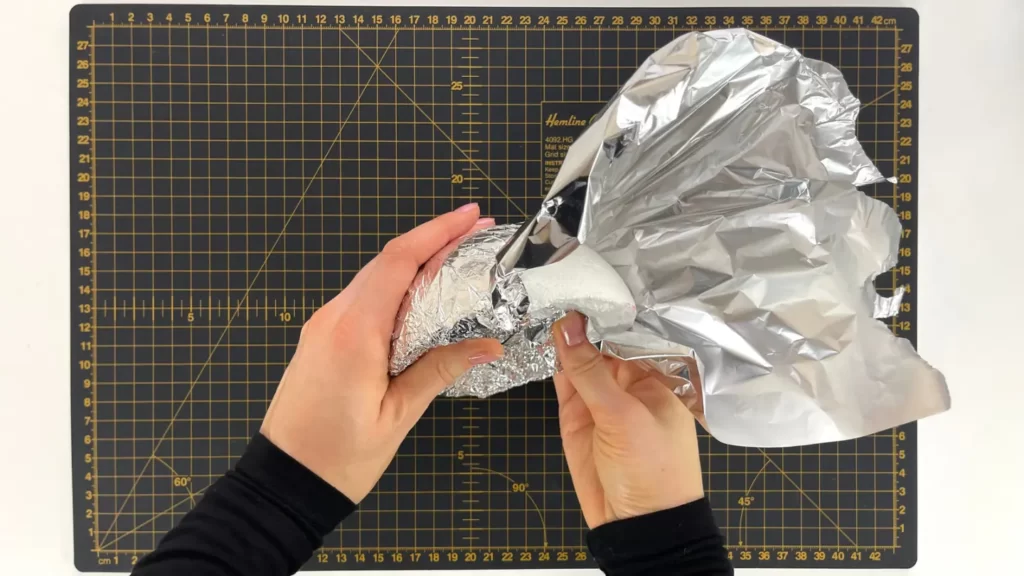
4
Wrap the hemisphere in foil. The foil protect against harmful fumes when heating the styrofoam ball when working with an iron.
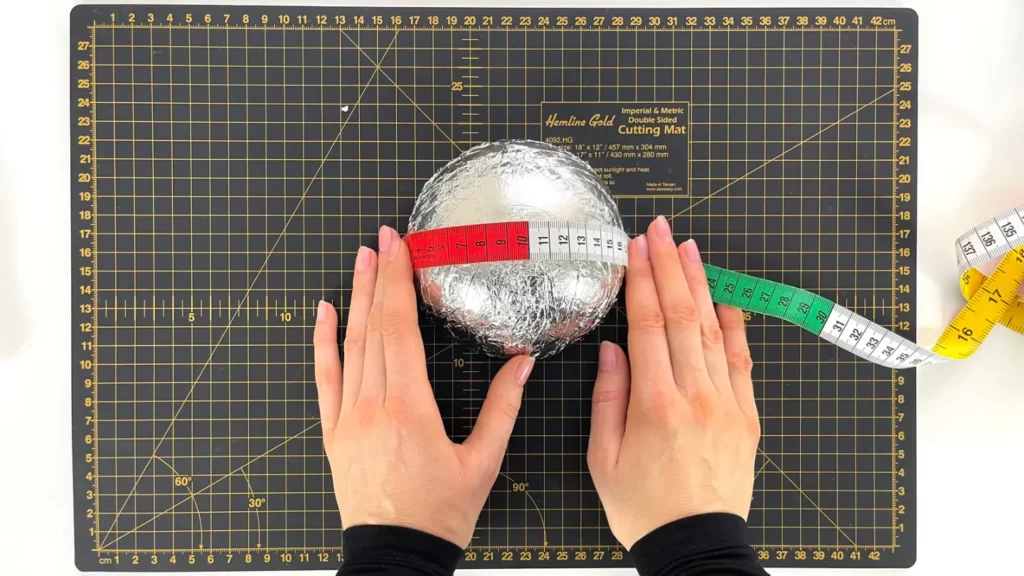
5
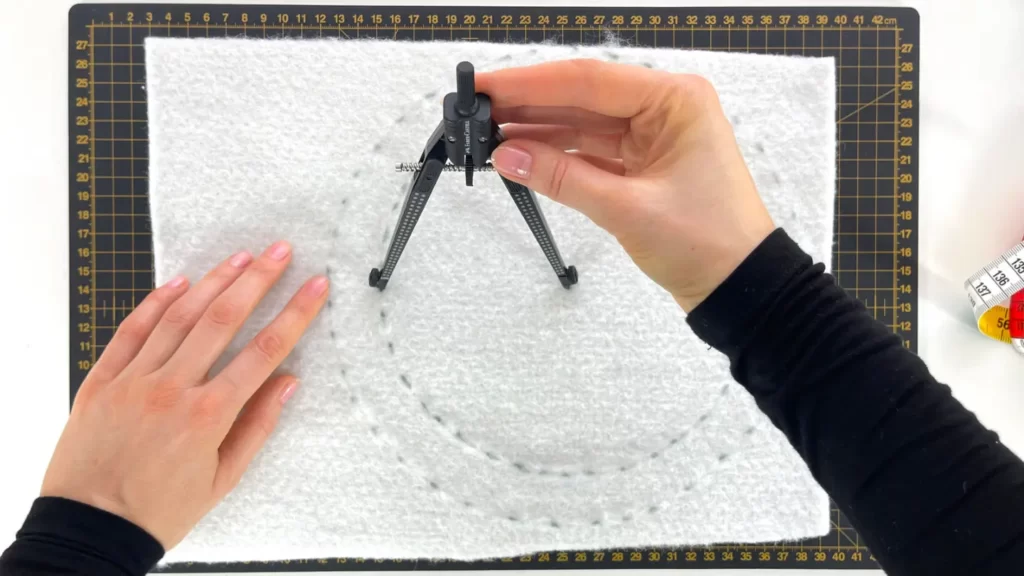
To cover with a fabric the hemisphere to measure an arc along the top of the hemisphere.
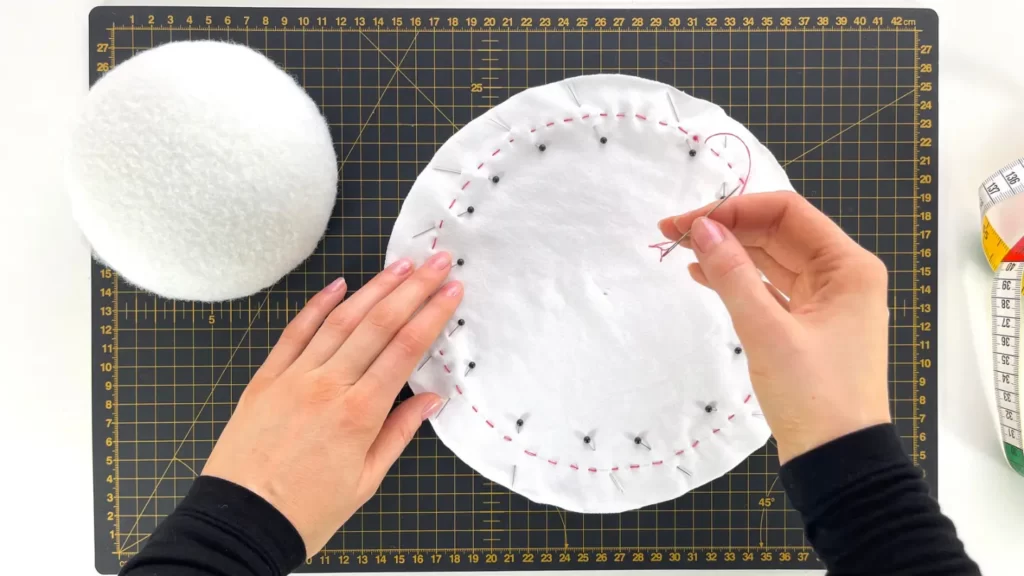
6
Draw a circle on the felt with the diameter of the arc. Add an allowance 2 cm or one inch. Cut out a circle along the allowance line.
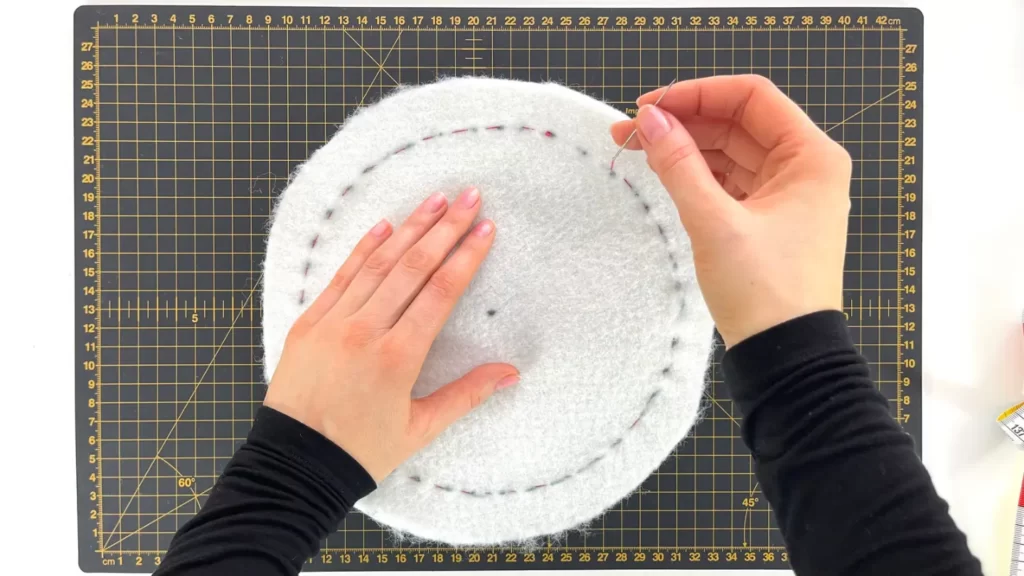
7
Make a basting stitches. Use a double strong long thread so that enough for the whole circle. *I use a red thread to make the process is clearly visible on the photo. You must to use the color matched to the material.
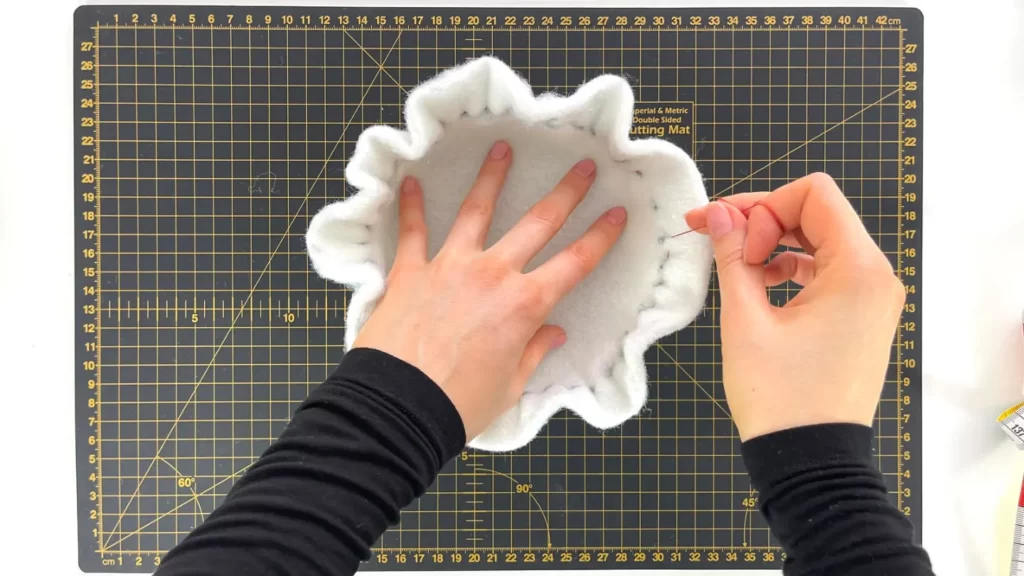
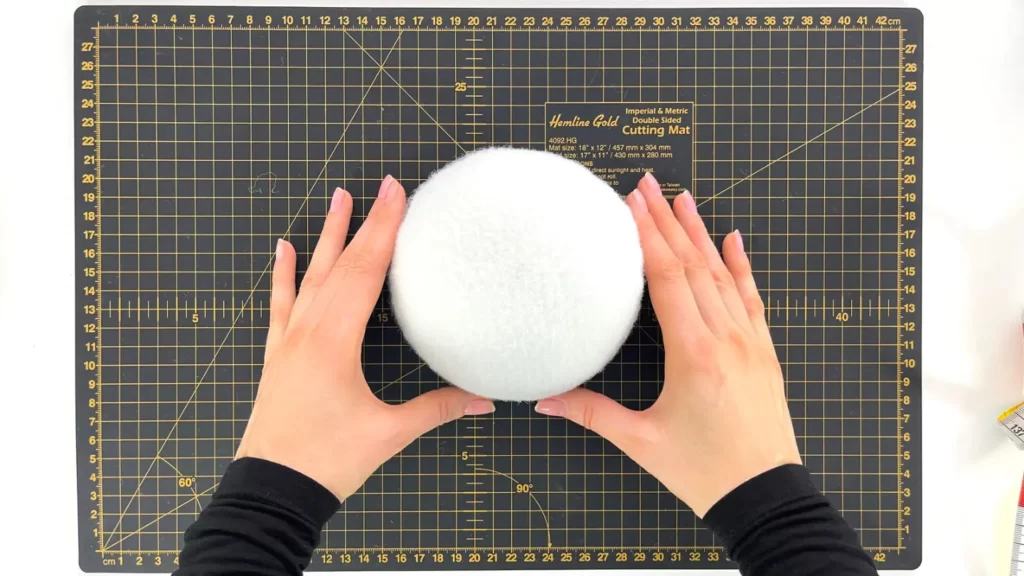
8
Pull the thread and get this shape.
9
Put our hemisphere in it.
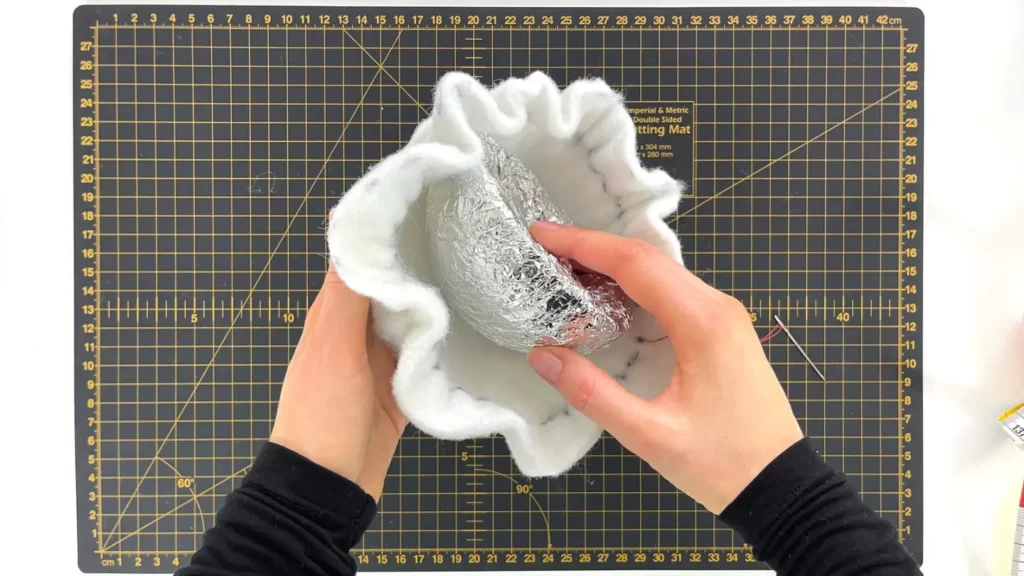
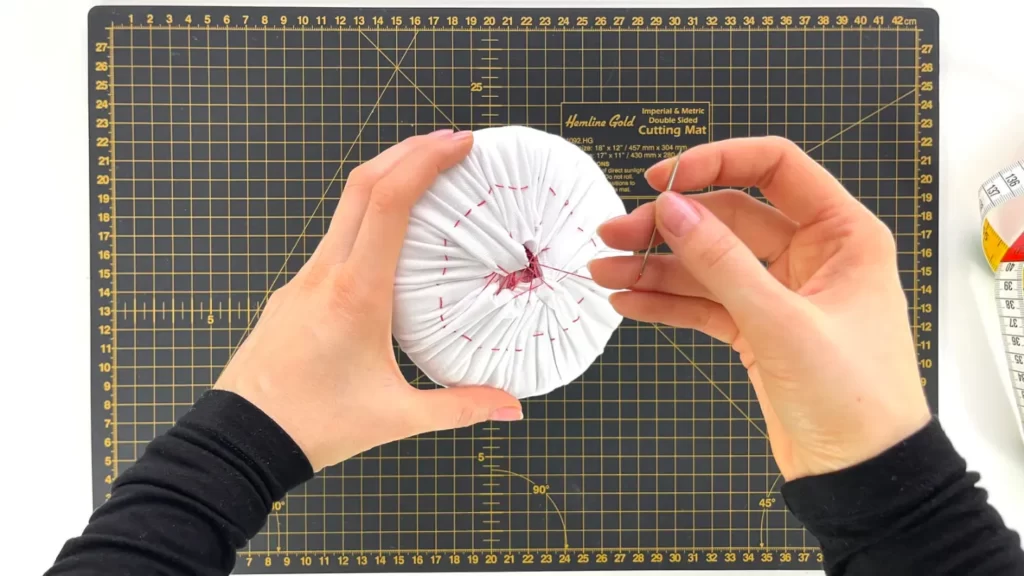
10
Slowly pull the thread to pull the felt over the hemisphere. Create a web of threads by pulling the allowances.
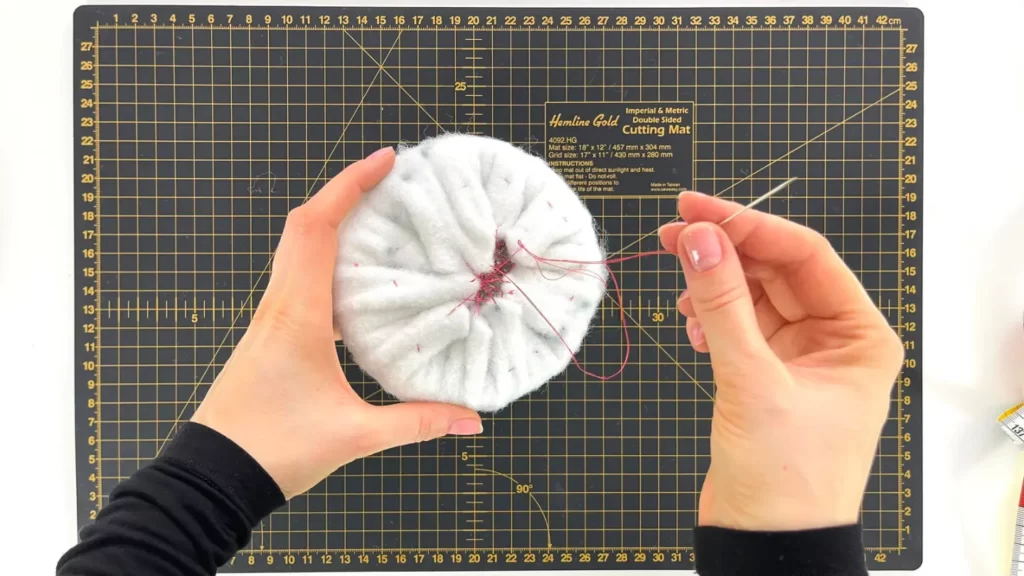
11
Pull the allowances to each other as much as possible to get a perfect result like on the photo. To fix the effect, you can pressing the pad by an iron.
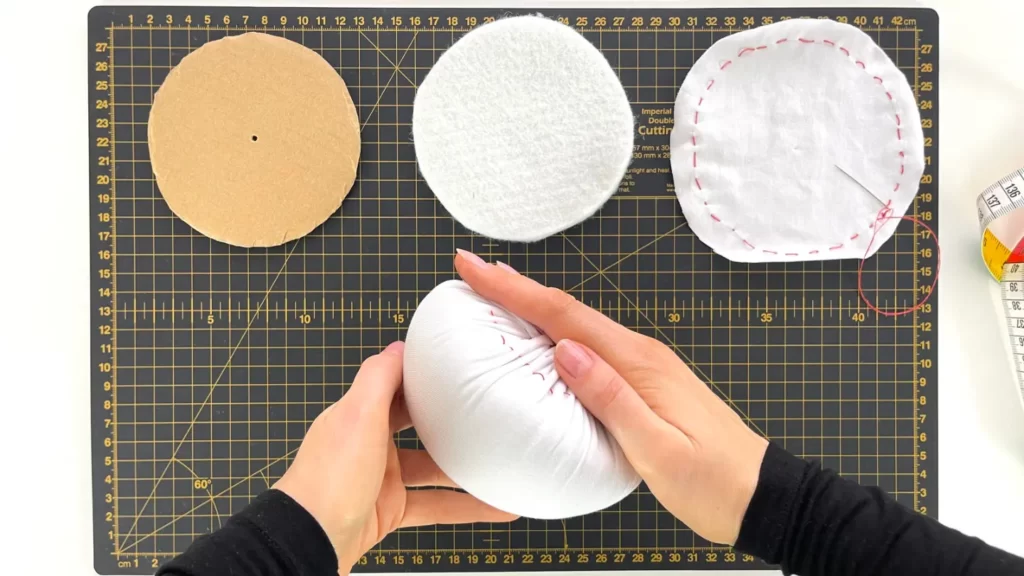
12
Repeat the step 6. Draw a circle on the jersey. Add a allowance. Cut out a circle along the allowance line. It is better to use a two layers. Pin together two layers of the jersey and make a basting stitching.
13
Pull the thread slowly and gather the fabric. Put the hemisphere inside and cover it with the fabric.
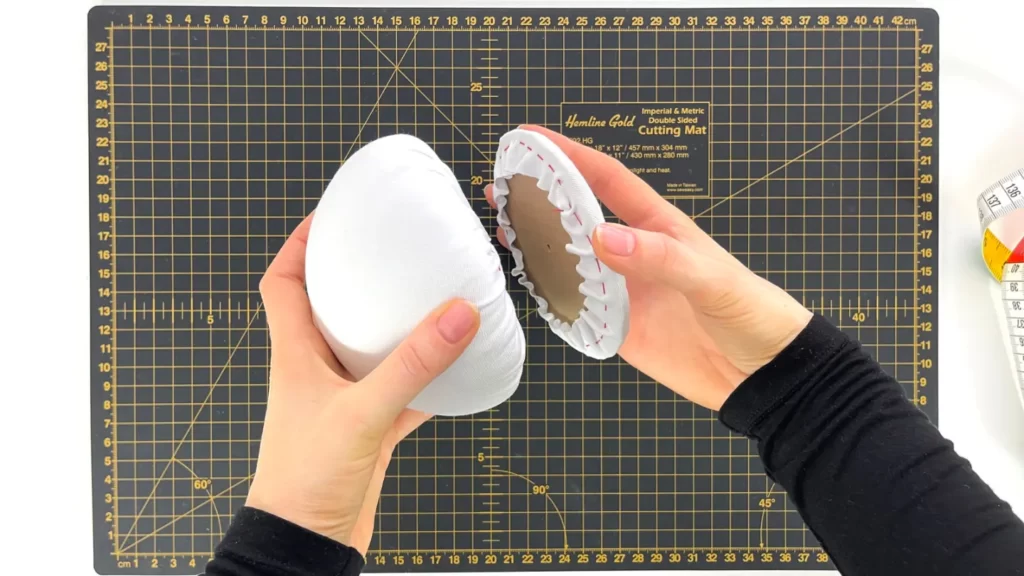
14
The following combinations can be used to make the bottom of the pad: cardboard + felt + jersey or cardboard + 2 layers jersey. The choice is depend on the thickness of the felt. Draw and cut out a circle with the diameter of the ball and to cover the cardboard bottom with the material.
15
Two parts for the pad looks like a hamburger.
16
Pin the two parts together by tailor’s pins.
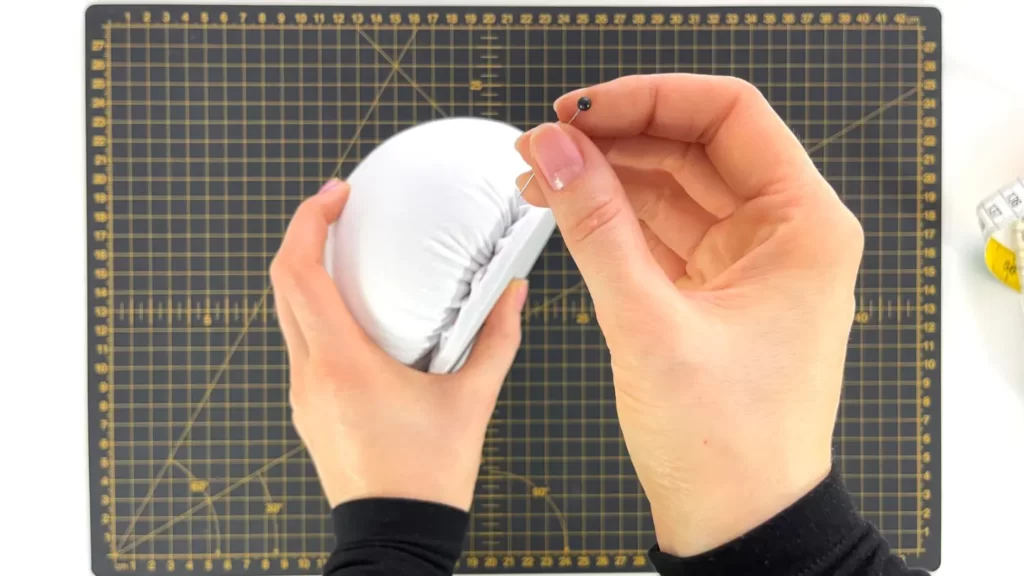
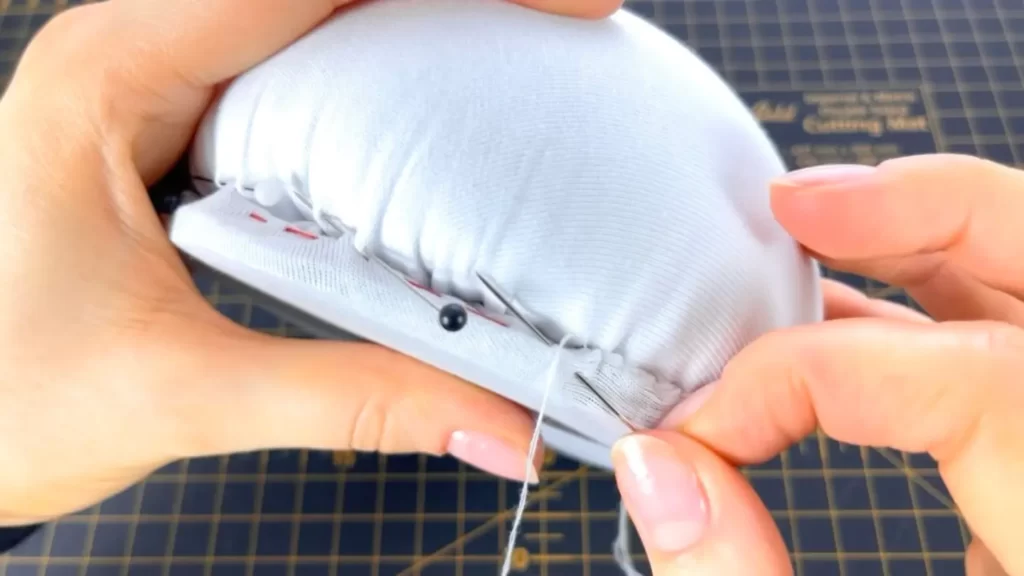
17
Sew two pieces together. Use a double thread and hidden stitches.
Result
Handmade ironing/pressing pads!
Video tutorial
FAQ
Happy crafting! To learn how to create your own lingerie patterns, namely panties, a garter belt, and a bra, join the Lingerie Pattern Making online course today and get lifetime access to the lessons!